School is in session where I live, and this year, I’m sending my 3 year old off to playschool for the first time. The program he’ll be attending is child led and play based. He’ll be free to explore and check things out at his own pace (one of the reasons we chose a play based experience instead of an “academic” preschool), and he’s so excited to go.
Most days he’s either home with me, or at daycare, so playschool will be an additional place he goes. Lately he’s been really into wanting to know our schedule for the day, or at least the big picture of where he’s going.
I decided him a simple visual schedule/calendar to help him see our plans, and start to understand the concept of time in a simple, age appropriate way. He doesn’t quite understand yesterday, today, and tomorrow yet, but I think seeing it laid out visually will help him make those connections.
And this is a project you can do at home with your kids. In this post I’ll lay out how I made it, how we’ll use it, and then share some thoughts on other ways to use a visual schedule.
Materials
Here are the supplies we used (affiliate links), but you can use whatever you have on hand.
- 1 sheet 8 1/2 by 11 colored paper
- 1 sheet colored cardstock (only need part of it for the envelope)
- Laminator and laminating sheets–I have an older version of this one, and it’s been going strong for a long time
- Sharpie or other thick marker
- Scissors
- Straight edge to draw lines (I’m terrible at drawing straight without it)
- Lessonpix, or a program where you can print photos (Google Drive, Microsoft Word, etc.)
- Sticky back hook and loop (Mine is the Velcro brand, but any type that’s sticky backed should work. Don’t get the sew on for this project)
- About an hour of free time (I did this one during naptime)
How I Made It
We really only go 2 places right now–home and daycare. When playschool starts, it’ll be 3, but his mornings and afternoons are sometimes different. He might be home with me all day, or at playschool in the morning and then daycare or home, or playschool and home, or daycare all day.
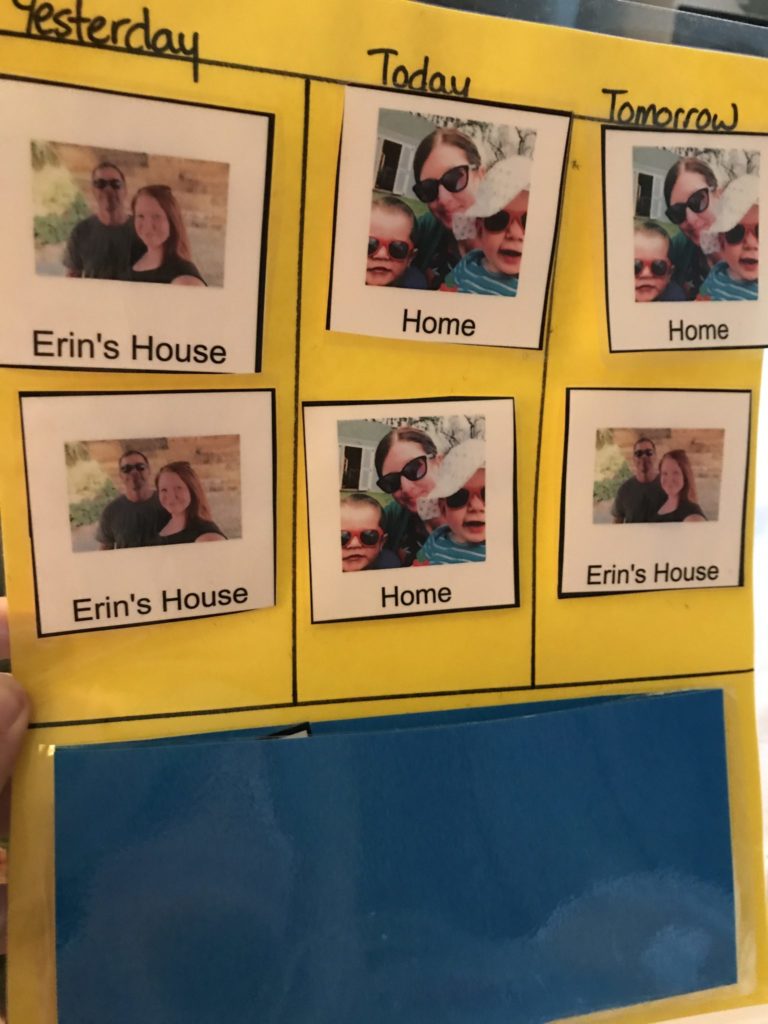
So I decided to make 3 columns (yesterday, today, and tomorrow) and 2 rows–one for morning and one for afternoon. I left the bottom empty so that we could have some space to store our extra pictures.
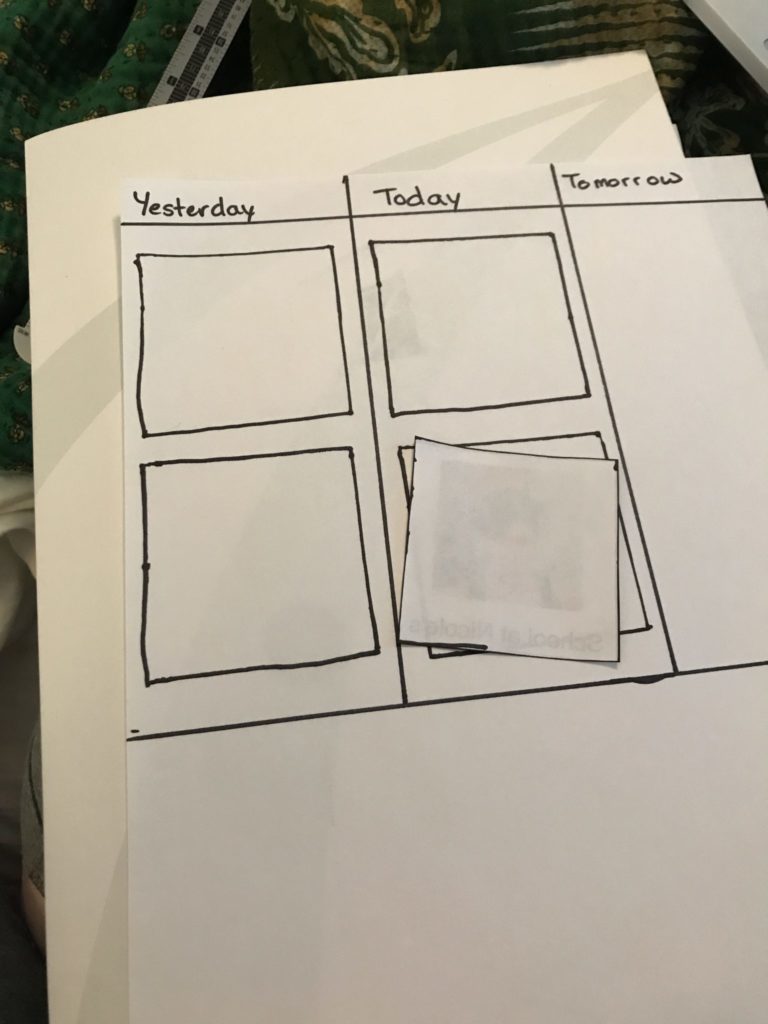
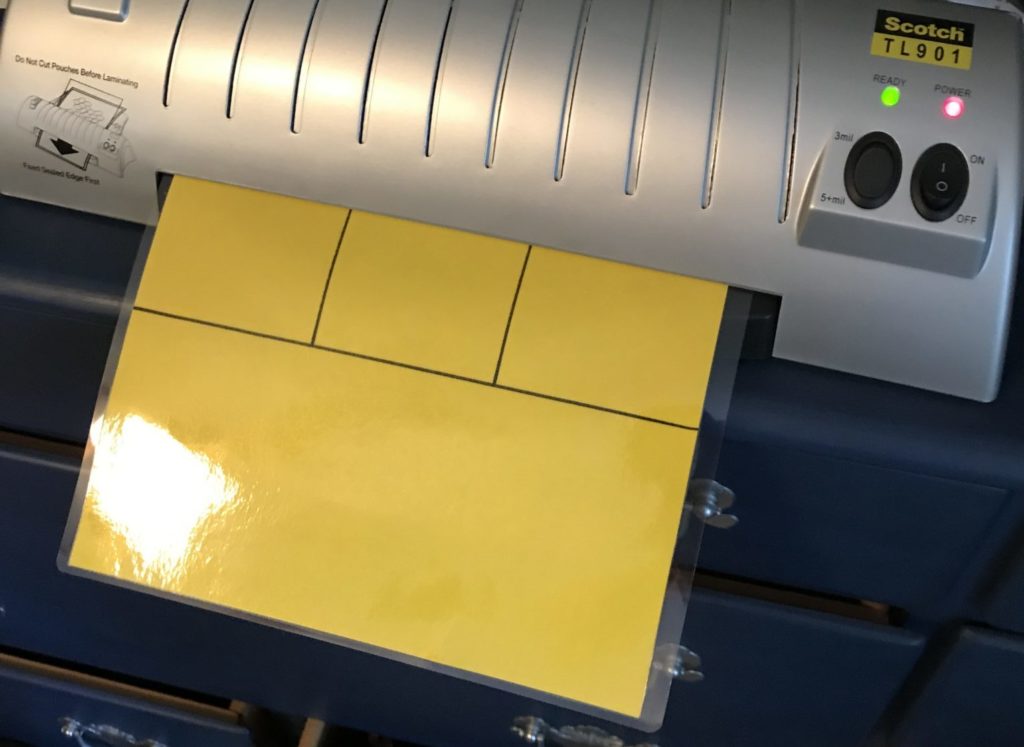
I started drawing a grid on white paper, but decided the blocks I’d drawn around the squares were too visually distracting, so switched to yellow instead and only divided it vertically for yesterday, today, and tomorrow, and made those lines go down about 2/3 of the way. Then I drew a horizontal line all the way across to separate the days from the storage space for extra cards. I drew the lines with a sharpie, and laminated the page.
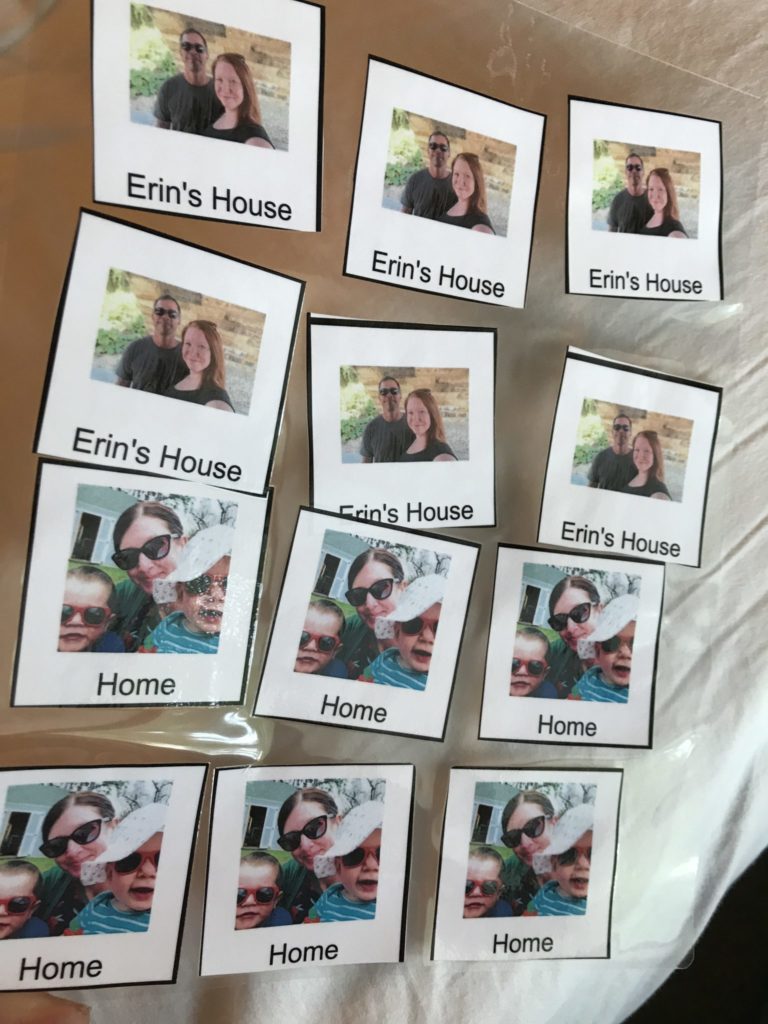
Next, I uploaded photos of myself with my kiddos (to represent home), a photo of our daycare provider, and a photo of my kiddo’s playschool teacher. I used Lessonpix since it’s a tool I already use in speech therapy, but you could easily do this in Google Docs or Microsoft word.
I printed 9 copies of each photo, so if we happened to be doing something for 3 days in a row, I’d have enough to fill the whole calendar (6 photos) and a few extra in case we lose some or I messed up while laminating or cutting (which you can see that I did in the photos).
Again, I printed and cut these apart, and laminated them.
After they were all cut apart, I cut sticky back Velcro into maybe 1/2 inch pieces, and attached it to the laminated calendar sheet (2 pieces per day, 1 for morning and 1 for afternoon), and 1 piece to the back of each cut out/laminated picture.

The final step was creating and laminating an envelope to hold the extra picture cards. I ended up googling “laminate an envelope” to find directions since I hadn’t done it before. Basically what I ended up doing was taking a piece of cardstock, folding it hot dog style, and then laminating it. When I trimmed it, I left an extra bit of lamination on each end since they weren’t closed, and trimmed very close to the top to let that part open up.
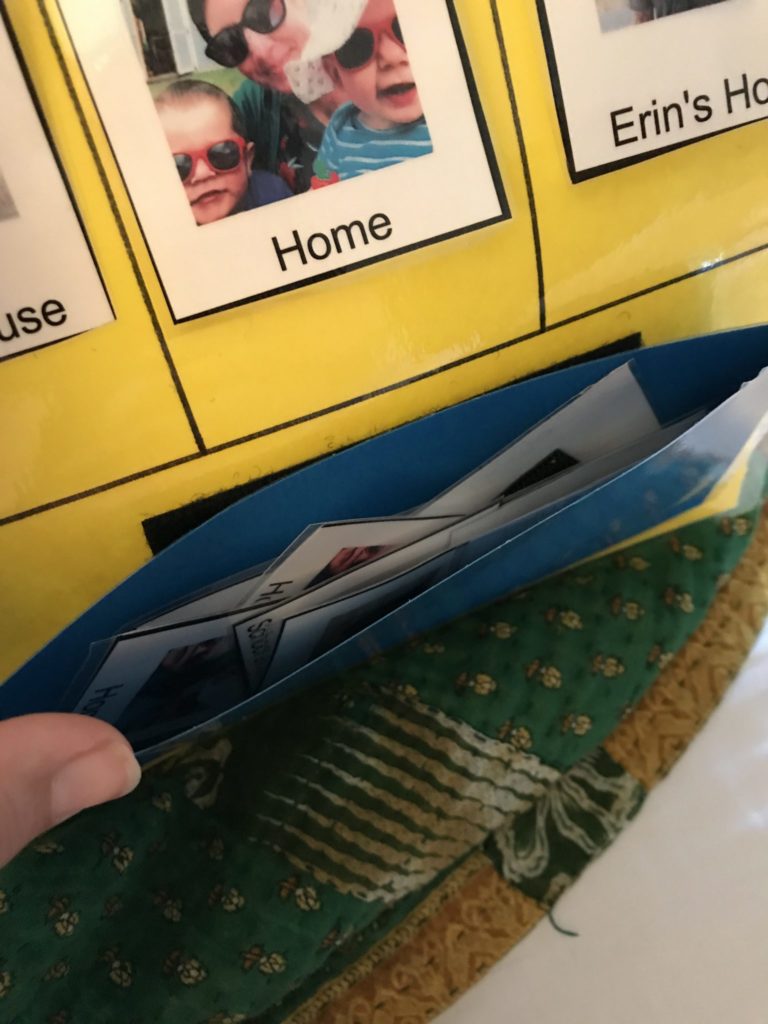
Then I added larger velcro strips to the back of the envelope and the front of the calendar page. I’m not really sure that needed velcro since it could just be permanently fixed on there, but to be honest I didn’t really think it through before I did it. 🙂
How We’ll Use It
My kiddo is really just beginning to understand time, so my thought was that we’ll start with only using the “today” column. When he asks me in the morning where we’re going or what we’re doing that day, we’ll put on just the 2 cards in the middle column for that day’s activities. And then, as he starts to understand that there is a past and a future, we’ll start using “yesterday” and “tomorrow” more.
I have to be honest though, as soon as he saw it he wanted all of the spots to have cards on them. So we’ll roll with it, and see how its use evolves.
I’m already excited to see him understanding who the people are and how we can use the calendar to know what to expect next. He hasn’t started playschool yet, but when I told him we were going to a back to school playschool party, he went to the calendar and found the picture of his playschool teacher.
Other Visual Schedule Ideas
There are really SO many ways to use visual schedules. The basic idea is that seeing something visually often helps children understand routines, schedules, or what to expect. It can be easier for them to understand than just telling them (or doing nothing at all and them having to guess at what’s next), and can help them with changes in routines.
Visual schedules are great for kiddos with special needs, but also for “typical” kiddos as well. At our house we have a visual schedule for bedtime (things like brush teeth, take a bath, read a book, get a drink). When my 3 year old is trying to stall, we can redirect to the schedule and (sometimes) get him back on track.
You could make a visual schedule for lots of other activities or routines if you wanted, like:
- Getting up in the morning (brush teeth, get dressed, eat breakfast)
- Packing a backpack for school (find PE shoes, put lunchbox in, get school folder)
- Going to a therapy session or doctor’s visit (Get in the car, check in a the desk, wait in the waiting room, go to another room)
- Participating in a group activity like taekwondo or dance class (Get clothes on, get in the car, wait outside activity, go in, go back to parents)
- Any other activity where your child could use a little extra support to understand the routine or activity